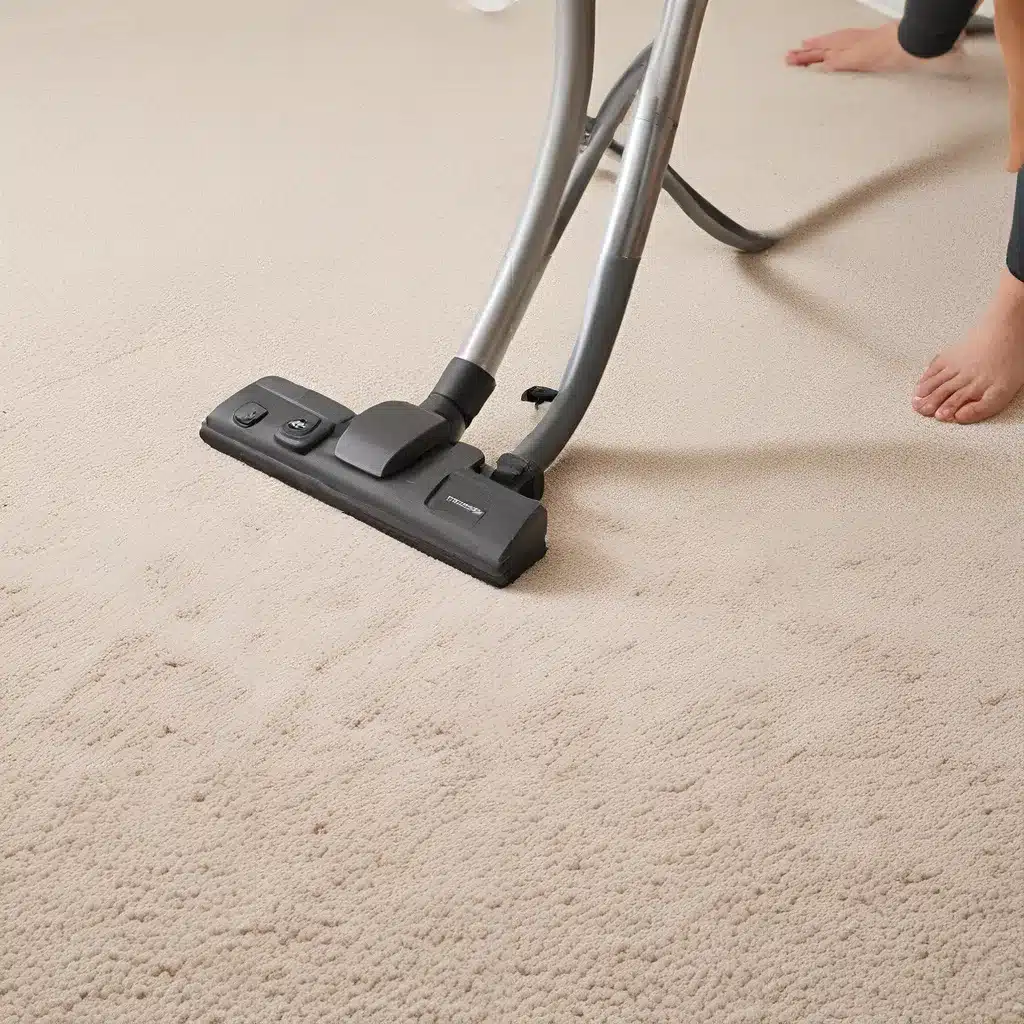
Ah, the joys of a lush, pristine carpet – the soft cushion underfoot, the inviting warmth, and the cozy ambiance it brings to any room. But let’s be honest, keeping those carpet fibers looking their best can be a real challenge, especially in homes with furry friends or little ones who love to play.
I hear you, fellow carpet enthusiasts! As a self-proclaimed carpet cleaning aficionado, I’ve tried just about every trick in the book to maintain that fresh, vibrant look. And let me tell you, I’ve discovered some real game-changers that have saved me countless hours and dollars on professional cleanings.
So, buckle up, because I’m about to share my top DIY carpet cleaning secrets that will have your floors looking like they just rolled out of the showroom. Get ready to bid farewell to those pesky stains, musty odors, and that dreaded “lived-in” look. With a little elbow grease and these foolproof techniques, you’ll be well on your way to an effortlessly clean, vibrant home that’ll have your guests green with envy.
Prepare Your Toolkit: Gather the Essentials
Before we dive into the nitty-gritty of carpet cleaning, let’s make sure you have the right tools for the job. This isn’t some high-tech, fancy-schmancy operation – in fact, you probably have most of these items right in your own home.
Here’s what you’ll need:
* A clean mop (not one you’ve used for anything else in your house – this one’s just for your carpets)
* A bucket
* Some OxiClean and Resolve concentrated detergent
* Your trusty carpet cleaning machine (I personally use a Rug Doctor, but any reputable brand will do)
* A little white vinegar
Now, I know what you’re thinking – “Vinegar? Really?” Yep, trust me on this one. The vinegar is the secret sauce that’s going to leave your carpets feeling soft, fresh, and free of any pesky detergent residue.
Step 1: Pretreat for Maximum Impact
Okay, let’s get down to business. The first step in my DIY carpet cleaning routine is the all-important pretreatment. This is where the real magic happens, folks.
I like to mix up a gallon of hot water with 1 scoop of OxiClean and 1/4 cup of Resolve concentrated detergent. Stir that bad boy up until everything is fully dissolved, then use your trusty mop to lightly apply the solution all over the carpet. Don’t go crazy and soak it – just a light, even coat will do.
Now, here’s the key: let that pretreatment sit for 30 minutes to an hour. This gives the powerful cleaning agents time to work their magic, breaking down and lifting all that stubborn dirt, grime, and pet hair. While you’re waiting, feel free to catch up on some laundry, scrub the bathroom grout, or indulge in a quick Netflix binge – just don’t forget about your carpet!
Step 2: Bring in the Big Guns (Carpet Cleaner)
Alright, time’s up! Your carpet is now prepped and ready for the main event. Grab your carpet cleaning machine and get to work. Start by giving the carpet a good scrubbing, making sure to work the solution deep into the fibers. I like to do a few passes, then switch to plain hot water and white vinegar to do a thorough rinse.
The vinegar is the secret weapon here, folks. It helps remove any residual detergent that could otherwise leave your carpets feeling stiff and attract more dirt. Trust me, this extra step is well worth the effort.
Once you’re satisfied with the deep clean, give the carpet a final once-over with the plain water and vinegar rinse. This will leave your floors feeling soft, fluffy, and positively vibrant.
Putting It All Together: Maximize Your Carpet’s Longevity
Now, I know what you’re thinking – “Wow, that’s a lot of work!” And you’d be right. But hear me out, my fellow carpet enthusiasts. This DIY cleaning method is going to save you a ton of time, money, and energy in the long run.
Think about it – no more wasting precious time and expensive cleaning products trying to tackle those tough stains. No more shelling out big bucks for professional cleanings every few months. With this foolproof technique, you can keep your carpets looking their absolute best with just a little bit of elbow grease every few months.
And let’s not forget the environmental benefits of this DIY approach. By using gentle, eco-friendly ingredients like OxiClean and white vinegar, you’re not only saving your carpets but also doing your part to keep our planet clean and green. It’s a win-win all around!
So, what are you waiting for? Grab your mop, your bucket, and your trusty carpet cleaner, and get to work! Your fresh, vibrant carpets are just a few simple steps away. And who knows, you might even have a bit of fun in the process – after all, a little elbow grease can be oddly satisfying, don’t you think?
Check out our professional carpet cleaning services if you need a little extra help or want to take the task off your hands entirely. But I guarantee, with this DIY carpet cleaning method, you’ll be well on your way to a spotless, inviting home that’ll have your guests wondering if you’ve got some kind of magical cleaning fairy living under your roof.
Happy cleaning, my friends! May your carpets be forever fresh, your home forever vibrant, and your weekends forever free of strenuous cleaning sessions. Cheers to a clean, happy home!

