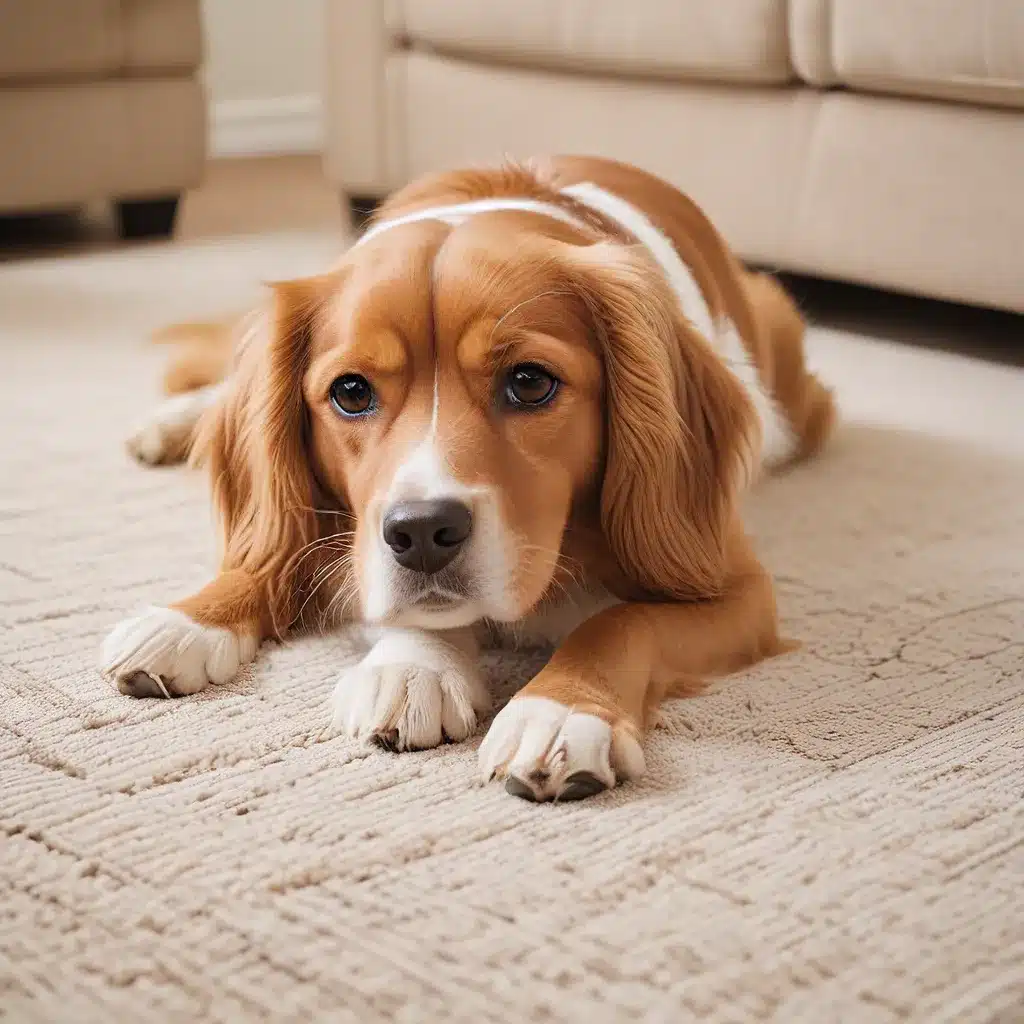
As a proud pet owner, I know firsthand the joys and challenges that come with sharing your home with furry friends. One of the biggest battles we face is the constant battle against pet hair – those pesky little strands that seem to end up everywhere, no matter how much we vacuum or brush our beloved companions.
But fear not, my fellow pet lovers! I’m here to share my hard-earned wisdom on how to effectively remove pet hair from carpets and keep your home looking and feeling fresh. Get ready to wave goodbye to those clingy, unsightly tufts of fur and say hello to a clean, cozy carpet that you’ll be proud to show off.
Understanding the Challenges of Pet Hair
Before we dive into the step-by-step guide, it’s important to understand why pet hair can be such a persistent problem, especially when it comes to carpets. Unlike hard floors or smooth surfaces, carpets are the perfect breeding ground for pet hair. Their fibers and nooks and crannies easily trap and hold onto those tiny strands, making them incredibly difficult to remove.
Regular vacuuming is crucial, but it’s often not enough to tackle the deeply embedded pet hair. And let’s not forget the added challenge of dealing with shedding – some breeds are notorious for leaving behind a trail of fur like a breadcrumb path, no matter how often we clean.
The Power of Proper Preparation
Now, let’s talk about the secret to success when it comes to removing pet hair from carpets: preparation.
Before you even think about breaking out the vacuum, it’s important to take a few key steps to set yourself up for success.
Step 1: Gather the Right Tools
Assembling the right tools for the job is crucial. Make sure you have the following on hand:
– A high-quality vacuum with a HEPA filter and pet-friendly attachments
– A pet hair removal brush or lint roller
– Microfiber cloths or paper towels for spot-cleaning
– Baking soda and vinegar (more on that later)
Step 2: Pre-Vacuum Thoroughly
Before you even think about breaking out the deep-cleaning solutions, it’s time to give your carpet a good, old-fashioned vacuum. This will help remove any loose pet hair and debris, making the deeper cleaning process much more effective.
Be sure to pay special attention to high-traffic areas and corners where pet hair tends to accumulate. And don’t forget to use the attachments to reach those hard-to-access spots!
Tackling the Toughest Pet Hair
Alright, now that we’ve laid the groundwork, it’s time to dive into the step-by-step guide for removing pet hair from your carpets.
Step 1: Treat the Carpet with Baking Soda
Baking soda is a versatile and natural cleaning powerhouse, and it can work wonders when it comes to pet hair. Sprinkle a generous amount of baking soda over the entire carpet, paying extra attention to areas with heavy pet traffic.
Let the baking soda sit for at least 15 minutes, allowing it to work its magic. The baking soda will help to loosen and lift the embedded pet hair, making it much easier to vacuum up.
Step 2: Vacuum Thoroughly
After the baking soda has had a chance to work, it’s time to break out the vacuum again. Ensure that your vacuum is equipped with a HEPA filter to capture even the smallest pet hair particles.
Vacuum the entire carpet, taking your time and using the attachments to reach every nook and cranny. Be extra diligent in high-traffic areas and around the edges of the room, where pet hair tends to accumulate.
Step 3: Use a Pet Hair Removal Brush
Even after vacuuming, you may still find stubborn pet hair clinging to the carpet fibers. This is where a pet hair removal brush can be a game-changer.
Gently brush the carpet in the direction of the pile, using short, repeated strokes. The specialized bristles of the brush will help to dislodge and lift the pet hair, making it easier to vacuum up. Be sure to clean the brush regularly to prevent it from becoming clogged.
Step 4: Tackle Tough Spots with Vinegar
For those particularly stubborn pet hair spots that just won’t budge, a vinegar solution can be the secret weapon you need.
Mix equal parts white vinegar and water in a spray bottle, then mist the affected areas. Let the solution sit for a few minutes before blotting it with a microfiber cloth or paper towels. The acidity in the vinegar will help to break down and lift the pet hair, making it easier to remove.
Step 5: Finish with a Final Vacuum
After completing the previous steps, give your carpet one last thorough vacuum. This will ensure that you’ve captured any remaining pet hair and debris, leaving your carpet looking and feeling fresh and clean.
Maintaining a Pet-Hair-Free Carpet
Congratulations! You’ve conquered the pet hair battle and restored your carpet to its former glory. But the work doesn’t stop there. To keep your carpets looking their best and free of pesky pet hair, it’s important to establish a regular maintenance routine.
Vacuum your carpets at least once a week, and consider investing in a robotic vacuum to help keep on top of the daily shedding. And don’t forget to give your carpets a deep clean every 6-12 months, using the techniques we’ve covered here.
Remember, the key to long-lasting, pet-hair-free carpets is diligence and consistency. With a little elbow grease and the right tools, you can enjoy a clean, cozy, and pet-friendly home for years to come.
Now, go forth and conquer that pet hair, my friends! Your carpets (and your furry companions) will thank you.

