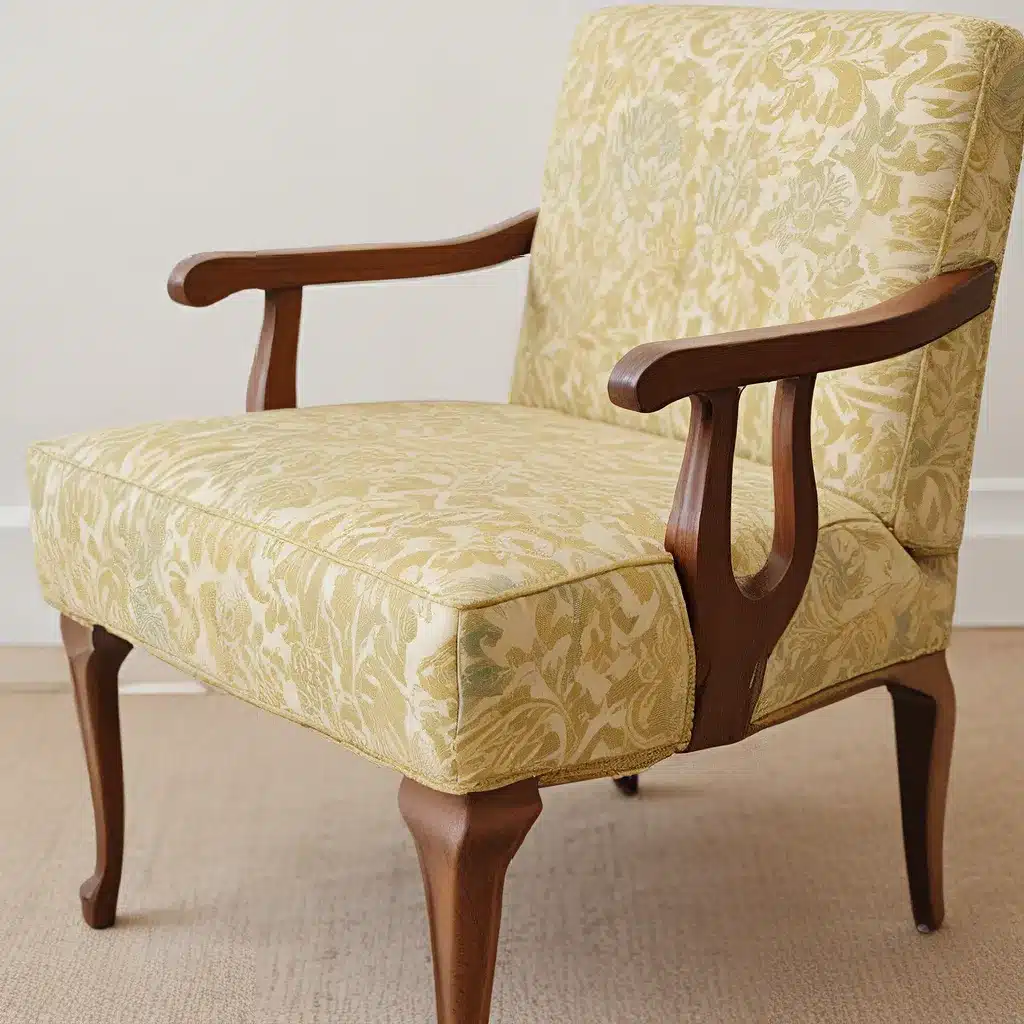
Reviving Tired Furniture on a Budget
As a self-proclaimed DIY enthusiast, I’ve learned that with a little vision and elbow grease, you can transform even the most outdated furniture into true masterpieces. And let me tell you, this thrifted dining room chair was no exception – it made for an incredible chair makeover!
Instead of splurging on brand new chairs, why not see if you can breathe new life into some second-hand gems? Over the years, I’ve discovered that you can often find much higher quality pieces when shopping on a budget and then transforming them. This little chair was a mere $20 find from a local salvage shop, but it had so much potential.
It was all wood and had good sturdy bones, making it the perfect piece for a DIY furniture flip. Now, I’ll admit, sometimes I’m hesitant to paint over beautiful natural wood grains. But with all the knicks and scratches, a fresh coat of paint was the way to go. I opted for a stunning grey Vintage Farmhouse chalk paint, which requires minimal sanding or priming – the beauty of quality chalk paint!
Elevating the Seat with Plush Padding
Not every furniture makeover will require new upholstery, but in this case, the original fabric was long gone and replaced with some dated pink material. If you happen to have good upholstery on your chair, you can always use a special fabric paint to give it a new color instead of replacing it. Just be sure to choose a high-quality material that can be easily cleaned.
Unfortunately, the original wood seat was water-damaged and beyond repair. So, I cut out a new seat bottom from a piece of plywood and added a thin 1/4-inch plywood piece as a chair backing. To create a comfortable and luxurious seat, I used a twin-sized egg crate mattress foam – an $11 investment that makes all the difference!
Crafting an Elegant Tufted Backing
But the real magic happened when I set out to create an elegant tufted backing for the chair. To achieve this, I first needed to make a template on the thin plywood sheet. I used a pegboard and marked where each hole should be to form the diamond tufting pattern. Instead of drilling through the wood, I opted for a more seamless approach by attaching screw eye hooks to each mark, allowing me to do all the threading from the front.
Next, I cut the fabric to size to cover the egg crate mattress foam. For this chair makeover, I wanted something truly special, so I went with an upholstered tufted design. With the right tools, like waxed thread and curved upholstery needles, the tufting process wasn’t too challenging. I simply used the curved needle to thread through the eye hooks, securing each button in place with multiple tie-offs.
As I added each button, the tufted lines came together naturally. I gently pinched the fabric to add a little definition, and once the tufting was complete, I flipped the backing over and trimmed any excess fabric. Then, I stapled the fabric in place and folded a piece of fabric over the back to hide the staples, ensuring a seamless and polished finish.
Securing the Tufted Backing
To attach the new upholstered chair back, I used a nail gun to drive nails through the back of the chair and into the tufted backing. This provided a secure and sturdy connection. As a final touch, I added some decorative upholstery tacks to cover up the tiny nail heads, adding an extra layer of elegance to the design.
The result is a stunning chair with a tufted inlay that beautifully showcases the elegant wood design on the back. Not only does the new backrest provide increased comfort, but it also adds an air of sophistication to the entire piece.
Transforming Furniture on a Budget
This chair makeover cost me under $30 in total materials and about an hour of work, not counting drying time. Not bad for a thrift store find, right? It just goes to show that with a little creativity and elbow grease, you can turn boring, outdated furniture into something truly amazing.
Carpet Cleaning Maconga is a great resource for those looking to breathe new life into their tired furniture. Their expert team can help you tackle even the most stubborn stains and refresh your upholstery, so you can bring that drab-to-fab transformation to life.
Seeing Potential in the Overlooked
Garage sales, thrift stores, and even your own existing furniture can be transformed with a fresh perspective. By looking at pieces with new eyes, you can uncover the hidden potential and turn something ordinary into something extraordinary.
A simple update, whether it’s a new coat of paint, some fresh fabric, or a touch of imagination, can go a long way. Don’t be afraid to take risks and experiment – you might just surprise yourself with the stunning results.
The Joy of DIY Furniture Makeovers
Furniture makeovers are not just about creating beautiful, functional pieces – they’re about the journey, the challenge, and the pure joy of transformation. When you take the time to breathe new life into something, you’re not just refreshing the item itself, but also rekindling your creative spark and cultivating a sense of pride in your own abilities.
So, the next time you come across a piece of furniture that’s seen better days, don’t write it off. Instead, let your imagination run wild and see the possibilities. With a little elbow grease and a whole lot of passion, you can turn the drab into the fab in no time. Who knows, you might just discover a new DIY superpower in the process!

