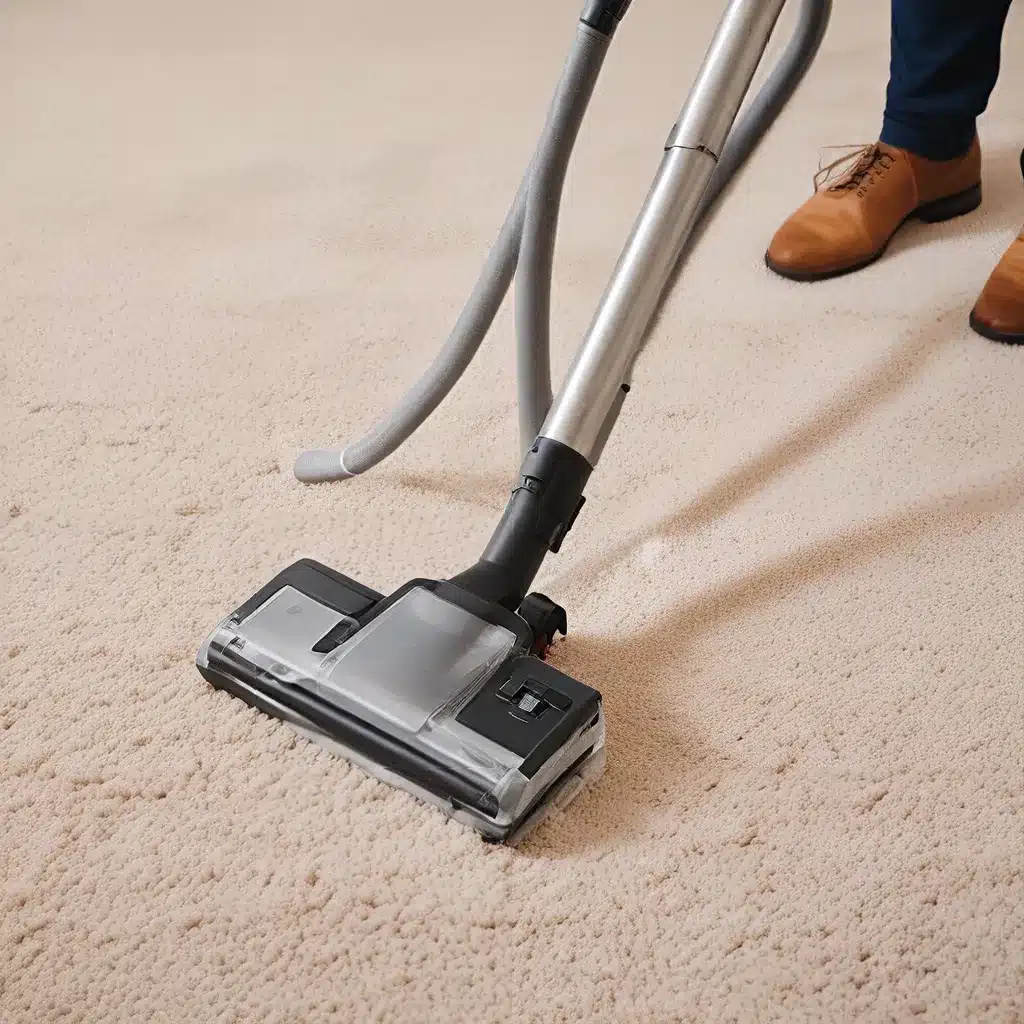
Are you tired of staring at those pesky stains and wondering if your carpets will ever look clean again? Well, my friend, you’ve come to the right place. As someone who has navigated the world of carpet cleaning myself, I’m here to share my hard-earned wisdom and guide you through the process step-by-step.
Preparing for the Big Clean
First things first, let’s talk about the supplies you’ll need to tackle this cleaning adventure. You’re going to want to have the following on hand:
- Vacuum cleaner: Make sure it’s in good working condition and has a HEPA filter to capture those tiny dust bunnies.
- Carpet cleaner: Whether you opt for a store-bought solution or a homemade concoction, having the right cleaning agent is key.
- Scrub brush: A sturdy brush with stiff bristles will help you tackle those stubborn stains.
- Microfiber cloths: These babies are like cleaning superstars – they’ll lift up all the dirt and grime without leaving any lint behind.
- Bucket and mop: For those hard-to-reach areas and a good old-fashioned floor cleaning.
Now that you’ve got your arsenal ready, let’s dive into the step-by-step process. Buckle up, because we’re about to transform your carpets from drab to fab!
Step 1: Declutter and Prepare the Space
Before you even think about busting out the vacuum, it’s important to clear the area. Start by moving any furniture or decor that’s sitting on the carpet. This will give you full access to those high-traffic zones that tend to accumulate more dirt and dust.
Pro Tip: Use this as an opportunity to do a quick declutter. Toss out any items you no longer need, and organize the rest into neat piles. Trust me, your future self will thank you for the extra elbow room.
Step 2: Vacuum, Vacuum, Vacuum
Now that the coast is clear, it’s time to get that vacuum cleaner working overtime. Start by running it over the entire carpet, making sure to hit every nook and cranny. Don’t forget to pay extra attention to the corners and edges – that’s where all the sneaky dust bunnies like to hide.
Pro Tip: Invest in a high-quality vacuum with strong suction power and a HEPA filter. This will ensure you’re catching all the tiny particles that can aggravate allergies and make your home feel less than fresh.
Step 3: Tackle the Tough Spots
Once you’ve completed the full-carpet vacuum, it’s time to focus on those pesky stains and high-traffic areas. Grab your trusty scrub brush and the appropriate carpet cleaner, and get to work.
Pro Tip: Always test the cleaning solution in an inconspicuous area first to ensure it doesn’t discolor or damage your carpet. And when it comes to those stubborn stains, don’t be afraid to put in a little elbow grease – the more you scrub, the better the results.
Step 4: Rinse and Dry
After you’ve conquered the stains, it’s time to give the entire carpet a good rinse. Fill your bucket with clean water and use your mop to lightly dampen the surface. This will help dilute and lift any remaining dirt or cleaning solution.
Pro Tip: Avoid over-wetting the carpet, as this can lead to mold and mildew growth. Aim for a light, even dampness, and make sure to use a fan or open windows to speed up the drying process.
Step 5: Finishing Touches
With the heavy lifting done, it’s time to put the finishing touches on your newly refreshed carpets. Use your microfiber cloths to gently blot any remaining moisture, and consider sprinkling a little baking soda over the surface to help absorb any lingering odors.
Pro Tip: For an extra boost of freshness, you can also try using a carpet deodorizer or essential oil-infused spritz. Just be sure to test it in an inconspicuous area first to ensure it doesn’t discolor or damage the fibers.
Maintaining a Clean Carpet
Whew, you did it! Your carpets are now looking and feeling as good as new. But the work doesn’t stop there. To keep your floors looking their best, be sure to implement a regular cleaning routine.
Vacuum weekly: Consistent vacuuming is key to preventing the buildup of dirt, dust, and debris.
Spot clean as needed: Don’t let those pesky stains linger – tackle them as soon as they appear to prevent them from setting in.
Deep clean every 6-12 months: Depending on the level of foot traffic and use, plan to give your carpets a thorough deep cleaning every 6 to 12 months.
Hire a professional: For a truly thorough cleaning, consider hiring a professional carpet cleaning service like Carpet Cleaning Maconga. They’ll have the right tools and expertise to get your carpets looking their absolute best.
Remember, maintaining a clean and healthy home is an ongoing journey, but with the right approach, you can keep those carpets looking and feeling fresh for years to come. Happy cleaning, my friend!

